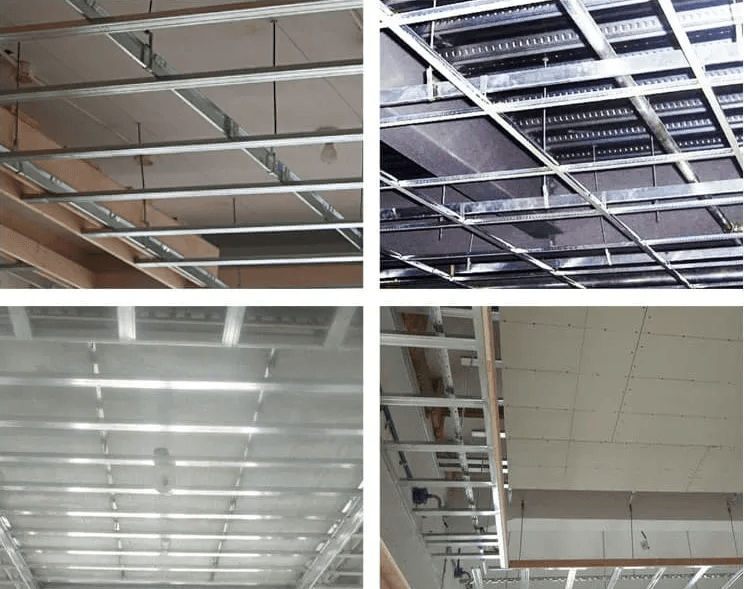
Step 1: Measuring the site to do the base
Make wood base on site.If it is out door need to pay attention to waterproof requirements, pay attention to the selection of waterproof plate.Note that a gap of 20mm should be leftbetween the plates. Single base width needs to consider the width that can be achieved by the water ripple sheet. If 1220 mm water ripple plate is purchased,the maximum width of the plate is recommended to be 1170 mm after deducting the factor of 20 mm hem. If the purchase is 1500 mm plate,the widest can be 1450 mm. Schematic diagram of maximum size.
Step 2: Order water corrugated plate according to the base
Order water corrugated sheet from factory based on measured wood base. If there is a hole, the location and size of the hole should be marked on the measuring drawing. If accuracy is not required, Angle grinder can also be used on site.
Step 3: Glue
Wait until the water corrugated plate ordered back, on the back of the water ripple affixed double-sided adhesive, and play structural glue (glass glue). Pay attention to the base to ensure dust-free and dry, so as to maximize the guarantee of bonding effect.

Step 4: Fixed installation, auxiliary support
When the stainless steel water corrugated plate and the base after bonding, it is recommended to do auxiliary support. It is generally supported by wooden boards and wooden poles. Wait until 24 hours later, that is, the structural adhesive can play a very good bonding effect, you can remove the base.
Step 5: Remove the support and tear the protective film.
After 24 hours of installation, the auxiliary support can be removed and the protective film torn.
